A hair dye try-on is most useful when it turns a vague idea into a clear conversation. It can help you compare shade direction and placement, but it cannot show how dye will behave on your hair. Bring the original photograph, your best preview and an honest color history to the appointment.
Use the preview to explain one visible goal
Before opening a hair dye simulator, decide what you are trying to change. You might want a lighter frame around the face, less visible red in brown hair, a darker overall outline or a deliberately bright color. These goals require different comparisons. Testing every available shade often creates a folder of attractive images without a clear decision.
Take a photograph in indirect daylight with your hair fully visible and the camera exposure steady. Include the roots and ends. A close crop that removes most of the lengths is a poor reference for a service involving highlights or a change across the whole head. Avoid beauty filters that reshape the face or alter skin tone.
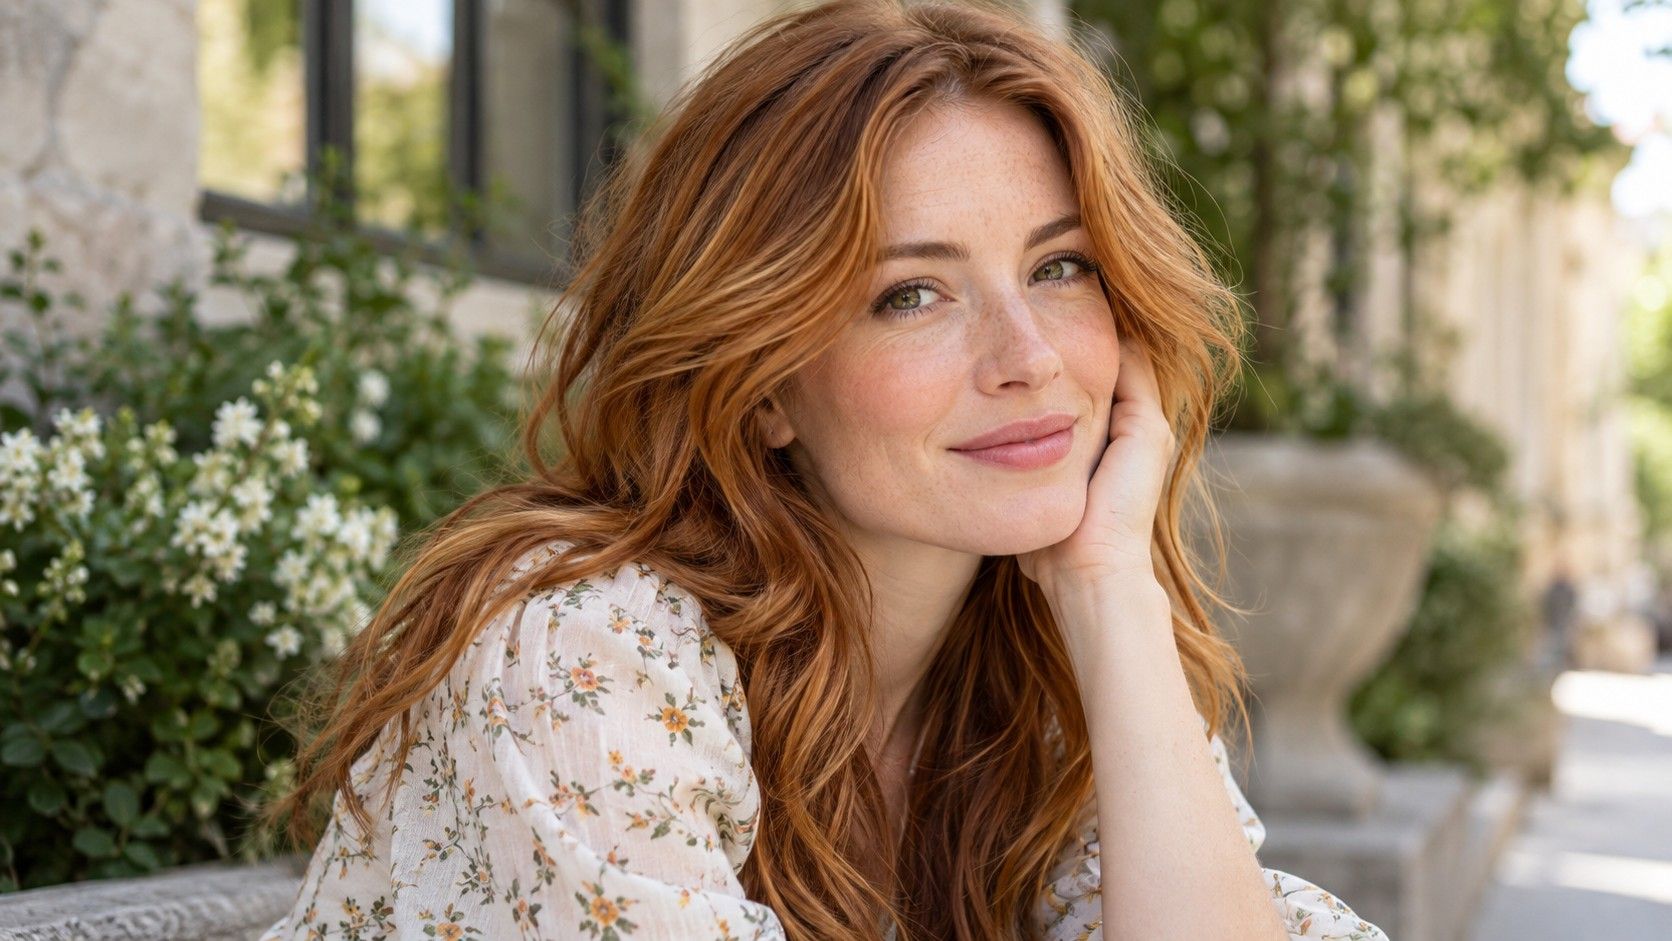
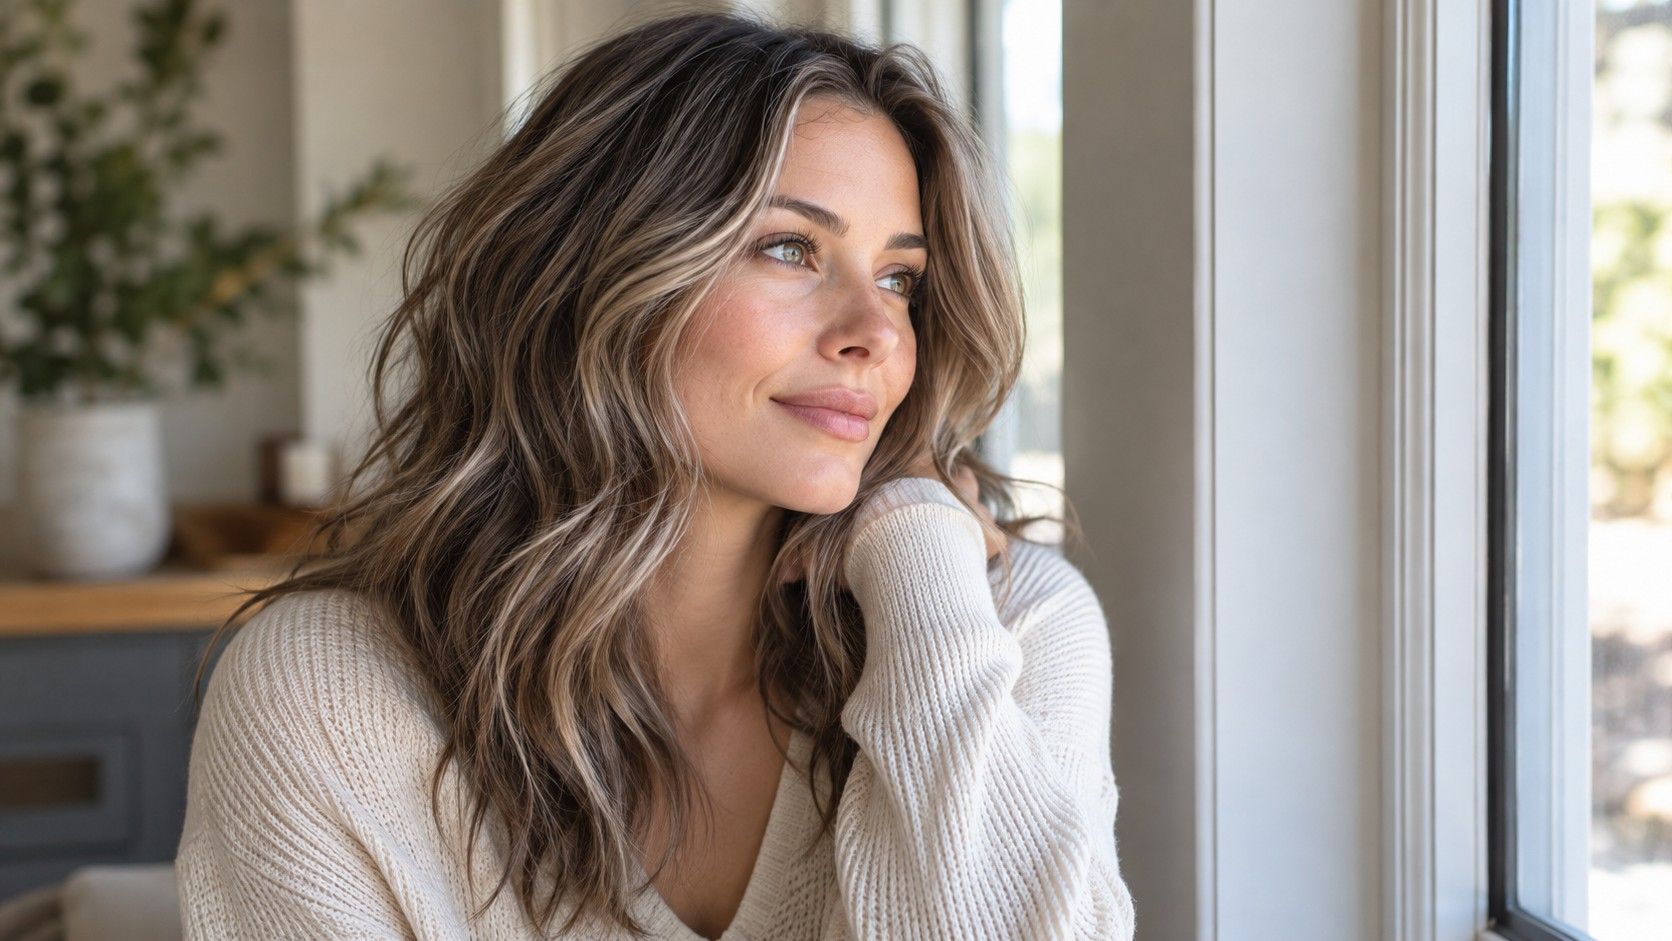
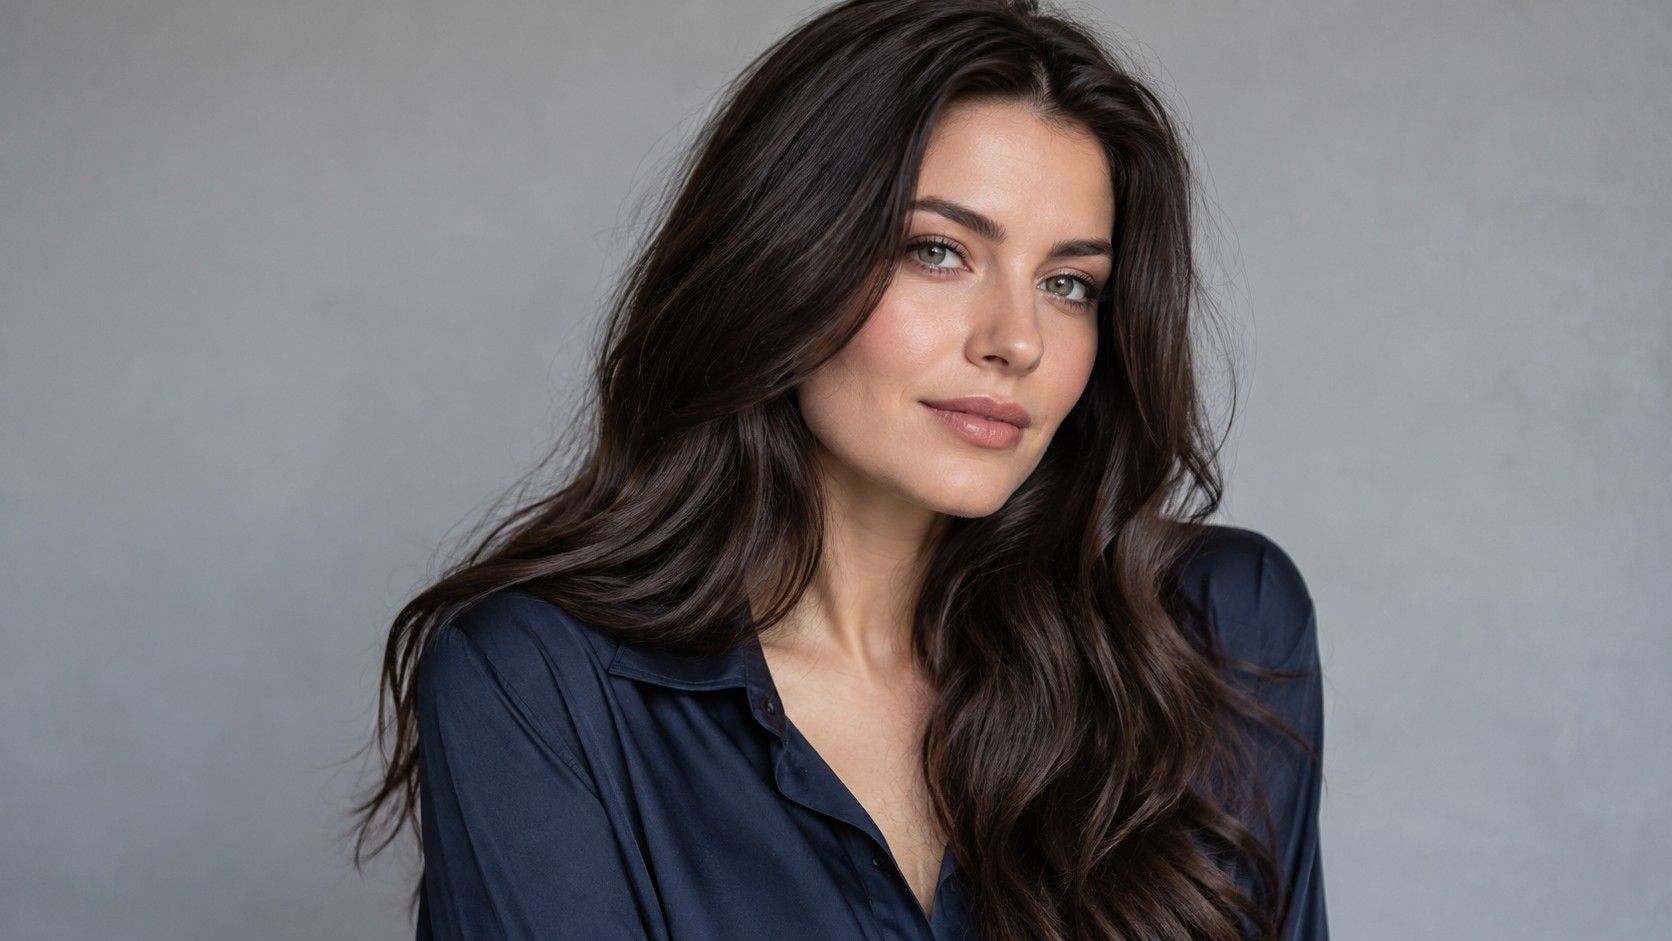
Create two or three versions from the same original. Keep one close to your current depth, another slightly lighter or darker, and a third for a different tone if that is relevant. A virtual hair dye try on can then help separate “I want more brightness” from “I want more warmth.” Those are different instructions.
Label the useful result in plain language. “This amount of copper, but keep the root darker” tells a colorist more than “I want this filter.” If you dislike a preview, keep a note of why. A clear rejection such as too orange or too solid at the hairline can be as helpful as the favorite image.
Show the color you are starting from
A preview begins with pixels; a color service begins with actual hair. The same brown appearance can come from natural pigment, repeated dark dye or a mixture of old highlights and newer color. Those starting points are not interchangeable. A filter cannot discover the history hidden inside a photograph.
Write down recent home and salon color, approximate dates and any sections that have been lightened. Include treatments you are uncertain about rather than guessing. If you have packaging or an accurate previous service record, bring it. The purpose is to make the consultation more specific, not to diagnose the hair yourself.
Show your roots in a separate clear photograph if the main picture conceals them. If gray coverage or a gray transition is part of the goal, show the actual distribution. A uniform gray overlay does not reproduce individual strands, mixed roots or the difference between the front hairline and the back of the head.
Also mention what you want to preserve. You may love the current depth underneath and only want brighter ends, or want to keep a natural root while changing the face frame. A colorist can assess the possibilities more usefully when the starting point and the areas to retain are visible together.
Separate an overlay from a real lightening process
A hair dye filter can turn dark hair pale blonde instantly because it is changing an image. That says nothing about what the hair would need to reach a similar shade. Existing dye, the starting depth and the condition of the lengths all matter to the actual process. Treat a major lightening preview as a visual destination to discuss.
Pay particular attention to texture and shadows. Some tools preserve the existing highlights while changing the hue; others replace much of the hair with a flat color. An especially even result can conceal the variation you would see in real hair. Look for visible strands, a believable root edge and natural light falling across the lengths.
Bright fantasy shades present another version of the same problem. A vivid pink overlay on brown hair may look opaque on screen without showing the preparation a comparable real result could involve. Ask what is achievable on your starting base and what compromises might be needed. The software cannot make that assessment.
Do not translate a preview directly into a dye formula or a stronger product choice. The useful information is descriptive: lighter, cooler, more muted, brighter at the front. For home coloring, follow the product instructions and safety directions, including the required allergy test before each use. A successful virtual preview provides no evidence about a real dye reaction.
| Bring this | Explain this | Ask this |
|---|---|---|
| The unedited photograph | Your actual roots, ends and recent dye history | What does this starting point mean for the proposed change? |
| The preferred preview | Which depth, tone and placement you like | Which parts of this image are realistic for my hair? |
| One real-hair reference | The specific feature it demonstrates | What would change with my cut, texture or starting color? |
| A short upkeep note | Your comfortable appointment interval and routine | How can we adapt the look if the maintenance is too much? |
Ask about stages, upkeep and the appearance between visits
Once you have a preferred direction, ask whether it is a realistic single service or a longer project. A preview contains no calendar. If the desired blonde or vivid shade needs several stages, discuss what the hair may look like between them and whether you would be happy with those intermediate results.
Ask which parts of the appearance will need attention first. Visible roots, a fading bright tone and a cooler blonde changing in warmth are different maintenance concerns. Your starting color and service affect the answer. Avoid assuming that a darker root in a reference picture guarantees a long interval between appointments.
Be concrete about your routine. Explain how often you are willing to visit a salon and how much home care you want to manage. If a particular look needs more upkeep than you want, ask for a related option with a different placement or depth. The preview can still communicate the direction even if the final design changes.
Before paying for a service, ask for the expected scope and price from the provider doing the work. A digital comparison does not estimate how much correction or preparation is needed. A smaller first step may suit your budget or preference; a larger transformation may still be your choice once you understand the actual plan.
Bring a reference folder that answers questions
Three clear images are usually easier to discuss than a large album of conflicting inspiration. Keep your original photo, the preferred preview and a real-hair photograph that shows a similar tone or placement. Identify the feature you want from each image so the colorist does not have to guess.
When comparing a hair dye filter free of charge with a paid tool, check what the tool actually lets you do before relying on it. Can you keep the original exposure, export a useful image and preserve a clear hairline? Features and access conditions can change. Price alone does not tell you whether a preview will be a helpful reference.
Check upload and storage terms before submitting a personal photograph, especially if you do not need a face-based test. A swatch or a cropped hair image may answer a simpler tone question. If you do upload a portrait, use only the information needed for the comparison and review the service’s own deletion options.
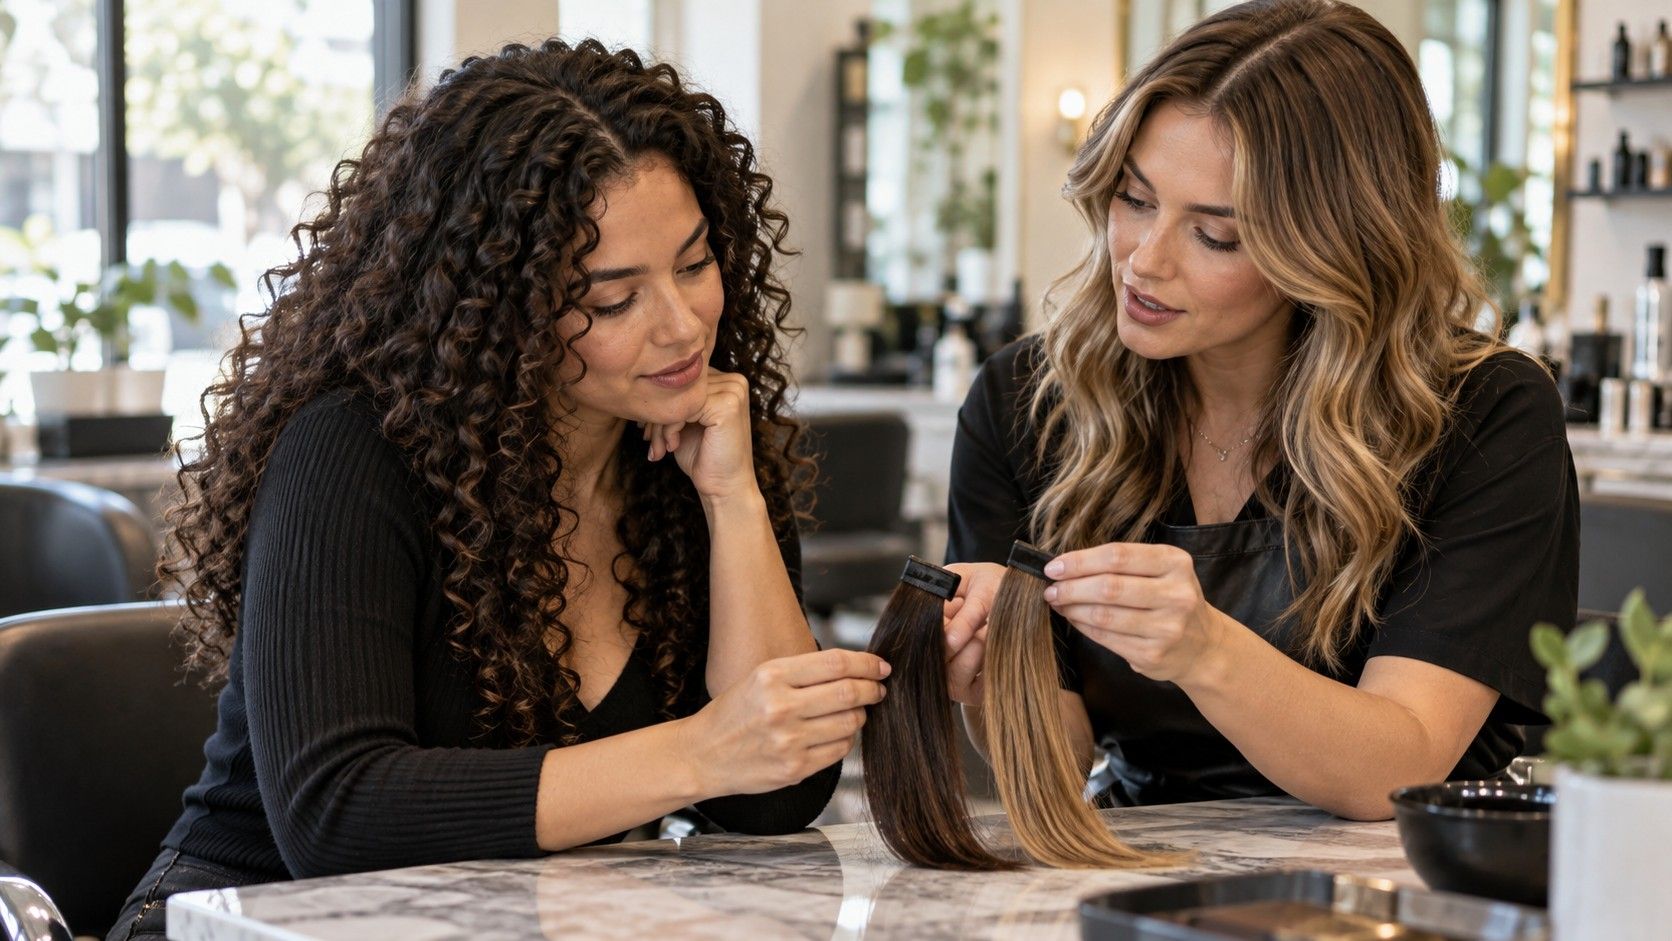
At the consultation, show the original first, then the preferred change. Explain one thing you like, one thing you want to avoid and the upkeep you can accept. That sequence makes a hair dye try-on useful without pretending it predicts the finished service. Leave with an agreed visual goal and a plan grounded in your actual hair, rather than just a striking screenshot.