A hair color analysis is useful when it narrows a wall of possibilities to a few shades you can explain. It cannot establish a perfect dye formula from your face. The practical question is smaller: which depth, tone and amount of contrast would you like to live with? Start with a clear view of your current hair, compare a few controlled changes, and leave the final chemistry to a consultation. A shortlist of three well-chosen directions is easier to discuss than twenty saved photographs.
Look at the roots before naming your color
Find a place beside a window with indirect light and look at the first stretch of visible regrowth. Separate that area from the mid-lengths and ends. A head of hair can carry several color histories at once: natural roots, old permanent color, lighter pieces and faded ends. Calling all of it “brown” hides the information that matters when you decide how far to move.
Write down what you can actually see. Is the root closer to a deep brown, medium brown or dark blonde? Are the ends lighter, warmer or more porous-looking? Use plain descriptions before trying to assign a level number. Professional numbering systems and shade names are not interchangeable, so a guessed number can create more confusion than a simple photograph.
Include previous color even when it seems long gone. Note approximate dates, whether a change was all over or only in sections, and any lightening you remember. If you do not know what was used, say so. An analysis of appearance helps choose a direction; it does not tell a colorist how old pigment will behave during the next service.
Compare tone without changing everything at once
Warm, cool and neutral are comparison terms, not grades of attractiveness. Put a warmer brunette preview beside a cooler brunette of similar depth. Keep the same face photograph, crop and lighting. If one image is also much lighter or more saturated, you cannot tell whether your preference comes from its tone or from the larger change.
Look around the whole face, including the jaw, brow area and eyes. Ask whether the hair feels connected to your features or whether your attention keeps returning to the hair alone. There is no need to decide that your skin belongs in one permanent box. A photograph can emphasize redness, shadow or yellow light that is less obvious in person.
A free hair color analysis can be a useful first comparison, provided you treat the result as a suggestion. Repeat the comparison on a second ordinary daylight photograph. If the preferred shade reverses between photographs, keep both possibilities and investigate the lighting. Do not average two uncertain pictures into a confident verdict.
Decide how much contrast you actually want
Depth and contrast deserve their own decision. Darkening the area around the face can make the difference between hair, skin and eyes more noticeable. Lightening it can reduce that difference for some people and increase it for others. The effect depends on your starting features, so “lighter is softer” is too broad to be a dependable rule.
Compare a near-natural option, one slightly deeper option and one slightly lighter option before exploring dramatic extremes. Keep the hair texture visible. A flat, opaque preview can make dark hair look heavier than a real dimensional result, while a bright filter may erase the shadows that would remain between actual strands.
Consider the style you wear most days. A shade around a straight center part frames the face differently from the same shade tied back. Check a front-facing photograph and a three-quarter view if you have both. The aim is to find a look you enjoy in your normal routine, including the days without deliberate styling or makeup.
Give each of your three shades a different job
Choose one close-to-current option, one modest change and one more adventurous direction. Those roles keep the shortlist useful. Three nearly identical beige blondes may be hard to compare; three unrelated transformations may tell you very little about your priorities. Describe what you like in each one, such as a softer root or a cooler face-framing section.
For the close option, identify the small problem you want to solve. Perhaps the ends feel too golden or the overall result looks flat. For the modest change, decide whether tone, depth or placement should move first. For the adventurous option, name the part you would be willing to compromise on if the full look proves impractical.
Keep the original image beside the shortlist and use unambiguous filenames. “Medium brown, neutral tone, subtle dimension” is more useful later than “favorite number two.” Screenshots should include the shade label when available, but labels are reference points rather than promises that a different brand or salon will produce the same color.
If all three choices depend on a heavily edited portrait, take a fresh photograph before choosing a winner. A flattering exposure can make every shade seem plausible. Your comparison becomes stronger when the same direction still appeals in a less polished photograph with believable skin texture and visible roots.
Add upkeep to the analysis before booking
A color you like in a picture may ask for more maintenance than you want. Think about the difference between the planned shade and your natural regrowth, how visible that boundary may be, and whether the design leaves a softer root. Ask a colorist about an individual return schedule rather than assuming every blonde or brunette needs the same appointments.
Also consider how much change you want in one visit. A very light preview over previously darkened hair says nothing about the work needed to approach it. An intermediate shade may be a sensible destination of its own. Decide whether you would still enjoy that stage before committing to a longer process.
Use your notes to discuss service scope, expected upkeep and a realistic range of outcomes. “I want a cooler medium brown, but I want to keep dimension and avoid a strong regrowth line” gives a clearer starting point than a seasonal label alone. The colorist can then explain what your existing hair supports and what would need further assessment.
When reviewing references, cover the rest of the photograph briefly and look at the hair itself. Clothing, background and retouching can contribute to the mood you like. Then uncover the face and ask which hair details remain appealing. This small check can prevent you from requesting a color when what you really wanted was the lighting or styling of the image.
Take the evidence, including the uncertain parts
Bring the original photo, the three comparisons and a short history of previous color. Add one or two reference images that show the placement you like. Explain whether you are drawn to their tone, brightness or pattern of highlights; you do not need to resemble the person in the picture for that detail to be useful.
A hair color analysis test should leave you with better questions. Can the desired tone work at your current depth? Would a smaller face-framing change achieve the effect? How would the shade be maintained as the ends fade? Those questions connect the attractive image to a plan you can understand.
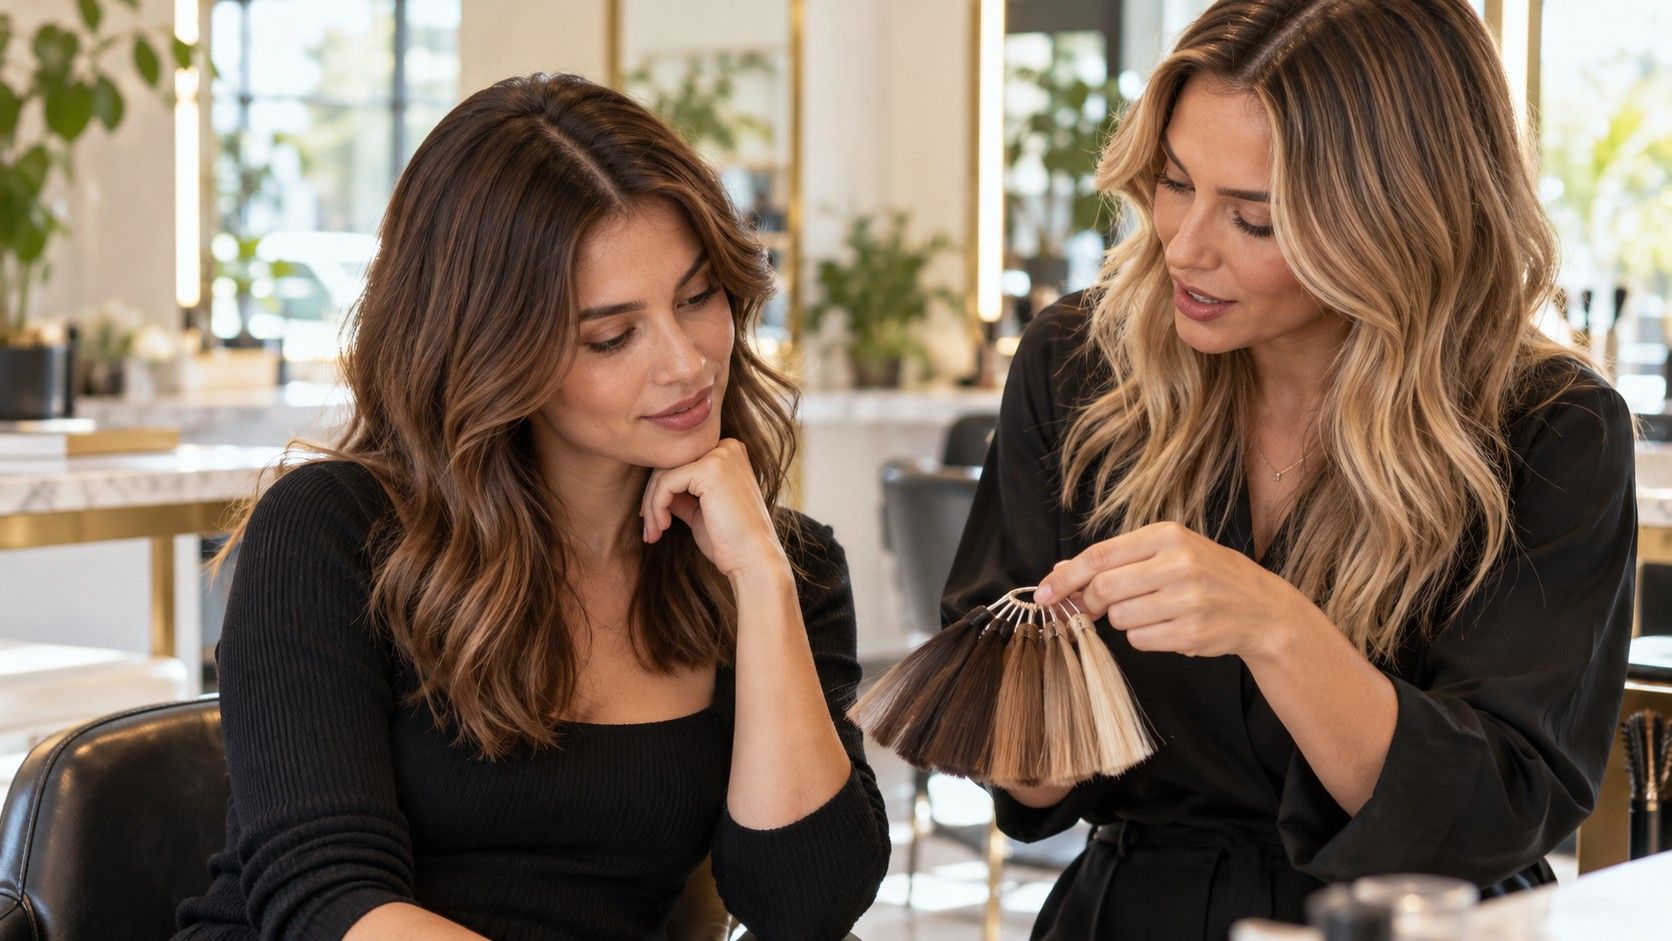
If you remain unsure between two shades, keep the uncertainty visible. Ask to compare physical swatches near your face where possible, and discuss a less extensive first change. Hair colour analysis is most helpful as a decision process: observe your starting point, change one variable, and choose a direction with reasons you can still explain the next day.